Ok...so step 1. Find your box, find an old tarp or tablecloth and a spot AWAY from any sort of vehicle...and use your spray paint of choice to paint it. I put on at least 2 coats on my box since it had bold red colors on it and I used a neutral colored spray paint.

Take your box (when it's dry of course) to a table or an area where you have lots of space to work. A word to the wise...have a covered surface here as well! It turns out decoupage and tissue paper can really make a huge mess. I bought a large bottle of decoupage at Wal-mart for around $6 or $7 and used maybe half of it for this project. I wanted pink tissue paper for my friend (since she's loved that color since we were kids) and also white as a contrast. I tore large pieces of tissue paper and carefully decoupaged them all over the lid, sides, and yes, the bottom of the box. My father's words will forever echo in my head "If you are going to do something do it right!". (At times I am haunted!)


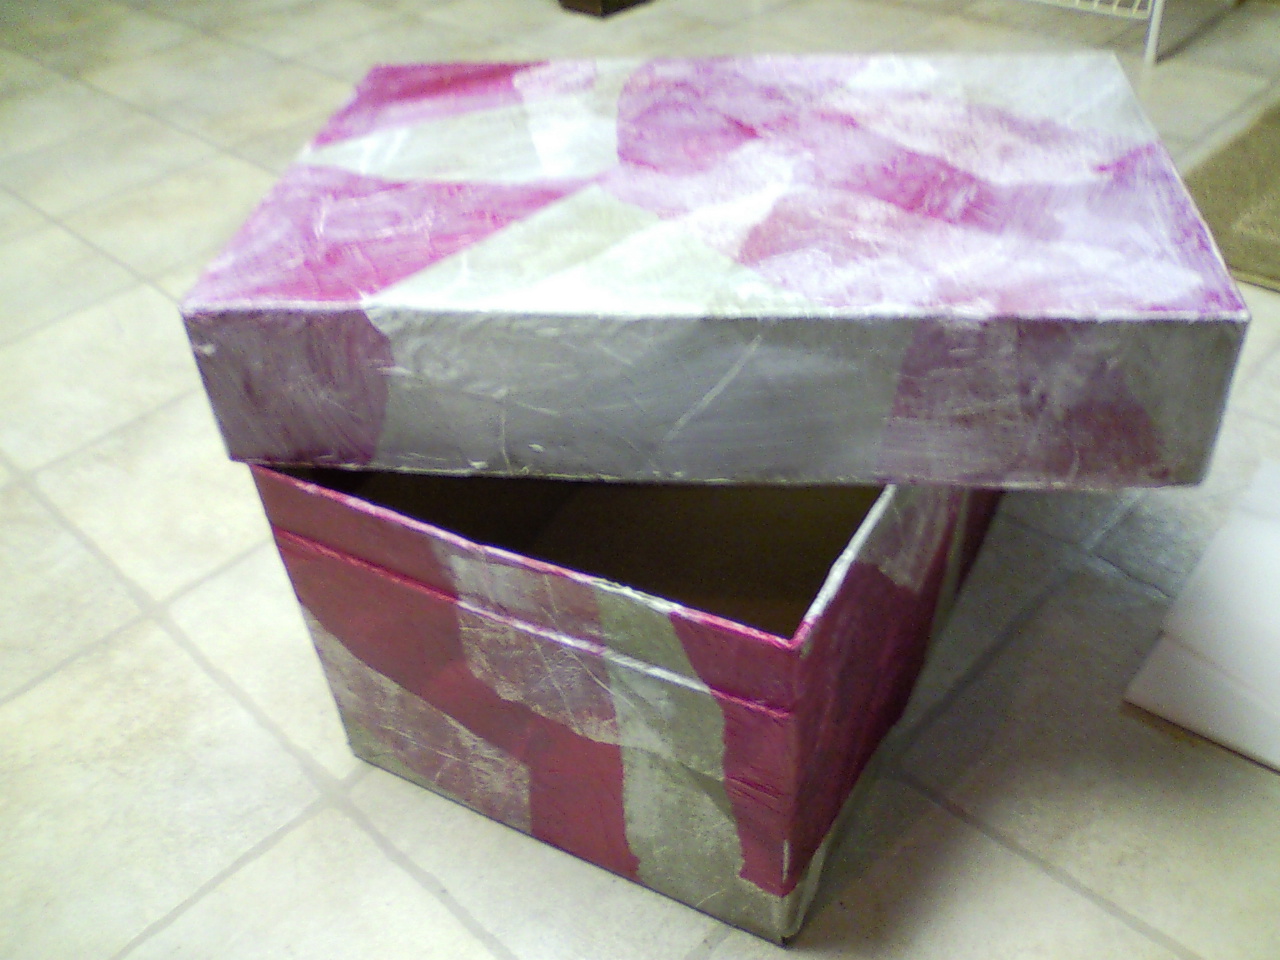
There is no real technique to this application of tissue paper with decoupage. If you want a linear design then cut the paper with scissors so the lines will be straight, but I prefer something a bit more random (plus I like to rip things) so my box has a very collage style design. I also let some of the spray paint show through in small sections.


When you finish the first coat, let it dry completely, then add at least two more coats. Remember, if this is to be a memory box it will be opened many times in the future, and we don't want our box falling apart now do we???
After I got several coats on there and had the paper in all the places I wanted it I added ribbon to the top of the box in a gift style "+" design. I added wide white satin, again using the decoupage in several layers. I then hot glued (and I am a HUGE fan of hot glue) to attach a less wide pink shimmery ribbon on top of it. On the bottom half of the box I simply did the white satin ribbon, again in the "+" design. (IMPORTANT NOTE: make sure your ribbons line up when closing the box before you decoupage or glue them down!)

I ran the ribbon all the way inside the box and down the inside so that the inside would have a finished look as well.

Lastly I decoupaged some more white ribbon along the inside "rims" of the box (to cover up the unfinished ends of ribbon that was tucked inside and to give the inside of the box some uniform color.

I then began placing some of my friend's wedding keepsakes in the box. I glued her reserved signs to the side and stuck her "bridal party" pin on one wall. I rolled up a bit of our bridesmaid's dresses fabric in a pretty riboon and put remnants from her bachelorette party in. I also put all of the pre-wedding pictures I took onto a CD so that she can pull them out and look at them anytime. I also threw in some leaves from her decorations (it was a Fall wedding) and placed some of her marbles from the centerpieces in a cute little mason jar with a bow and then I was done!

This was such a simple, fun and very affordable way to make a gift that I really hope my friend will enjoy! You can add your own ideas too. I actually started out this idea with the request of her bridal magazines because I planned on decoupaging pages of them onto the box...but I am very happy with the tissue paper technique I used instead.
No comments:
Post a Comment